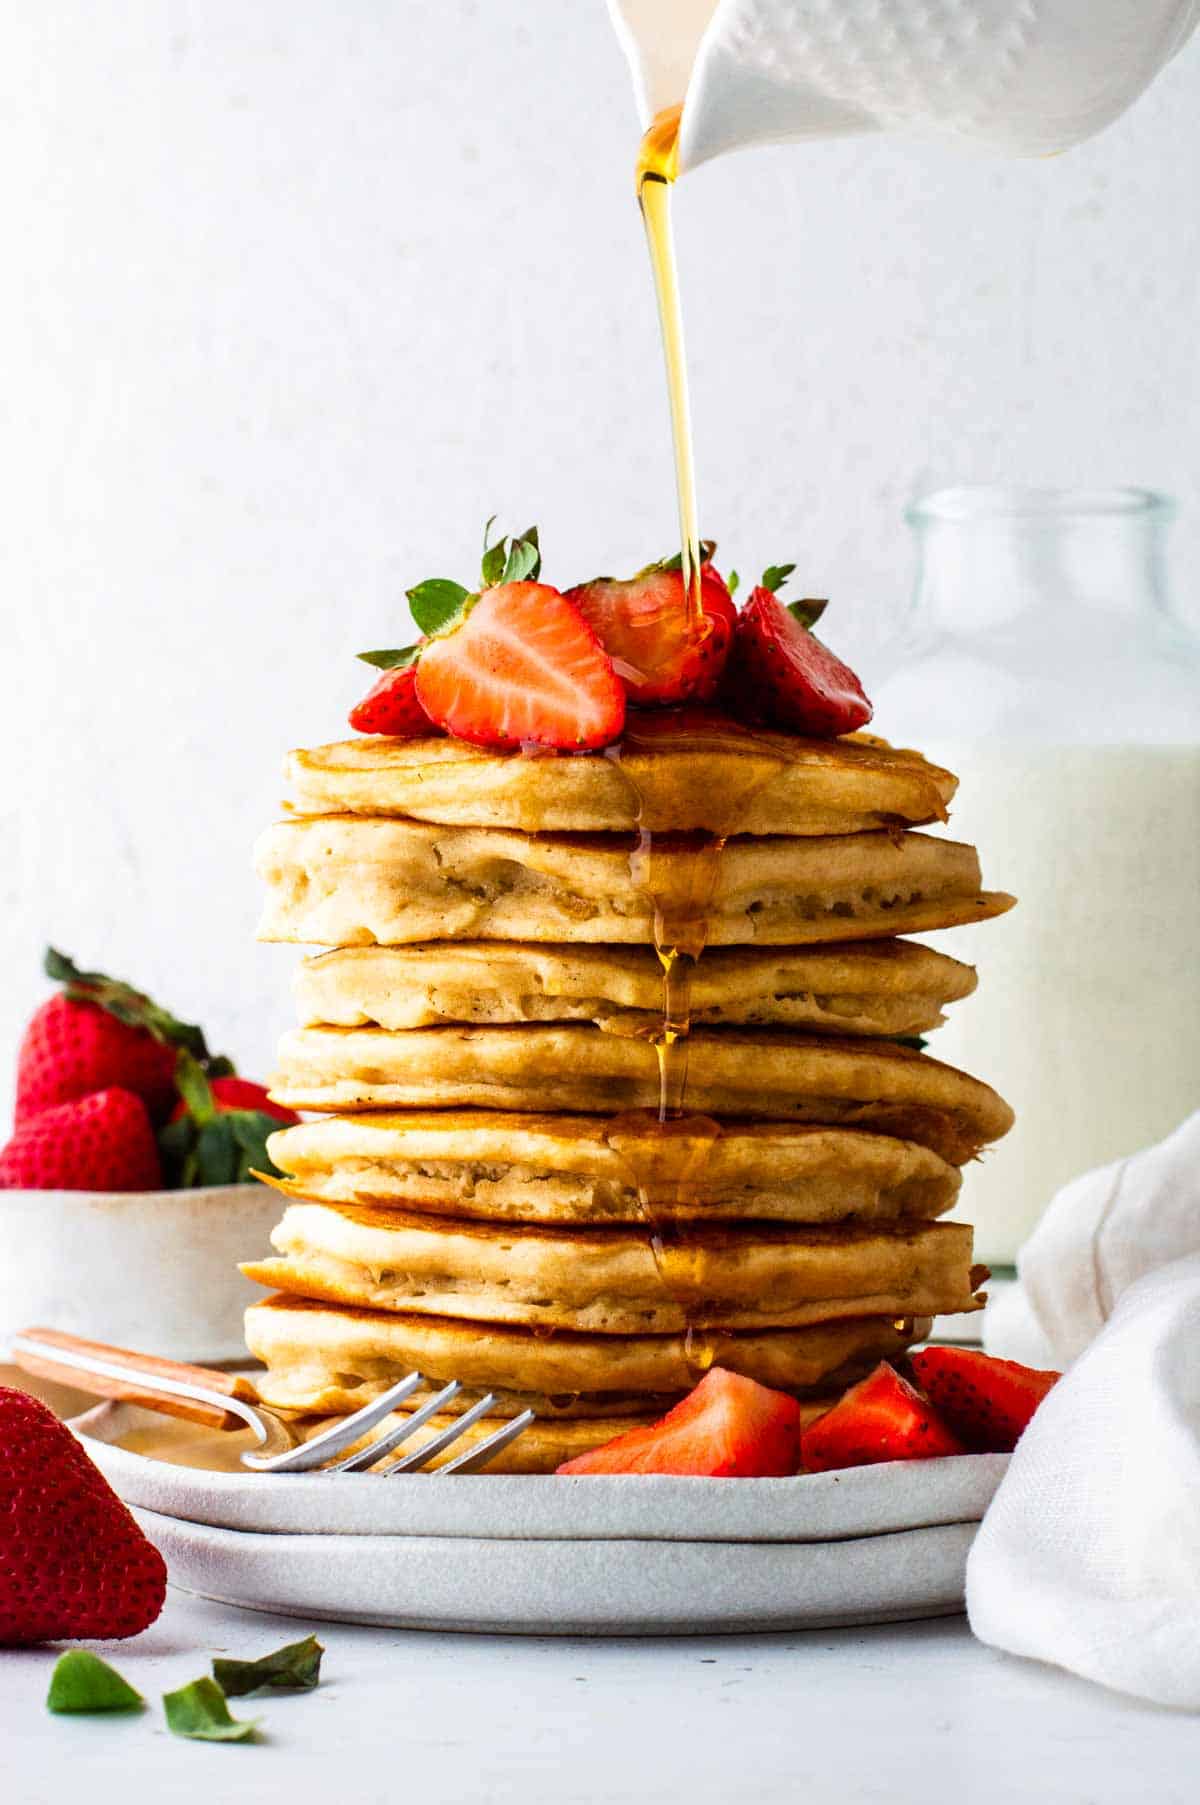
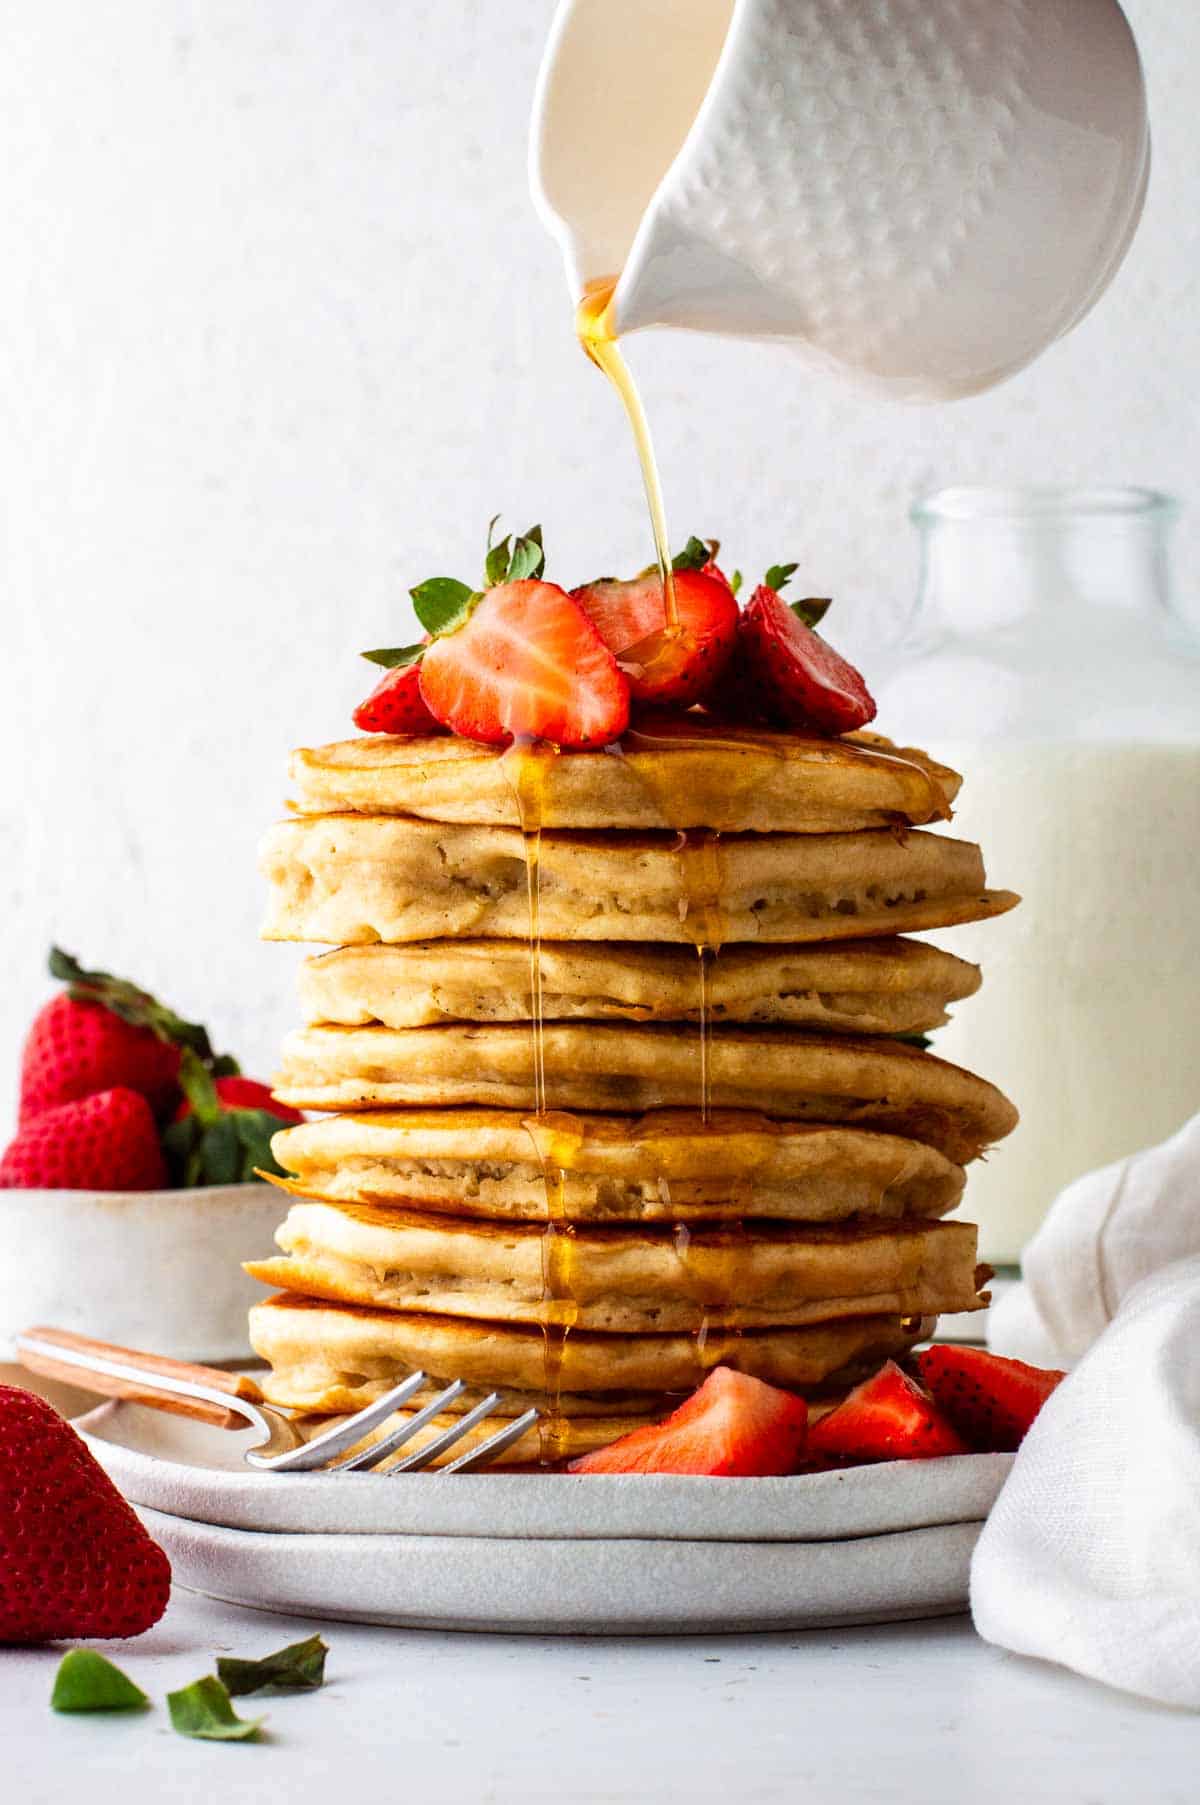
Fluffy, golden, and ridiculously easy—these egg-free Bisquick pancakes are a total breakfast win. Whether it’s a lazy Sunday morning or a quick weekday treat, this recipe is my go-to for pancakes that taste amazing and come together in no time.
This post may contain affiliate links. Read my policy page for more information.
I love making hearty egg-free pancakes from scratch—but the convenience of using Bisquick mix is nice! It cuts the amount of ingredients needed in half! It also brings back the nostalgia of childhood!
A couple of years ago I had a reunion at a cabin with a bunch of friends from high school and offered to make pancakes with a mix for one of the breakfasts. I just used oil to make it egg-free, and they turned out ok but definitely fell apart easily and didn’t get as fluffy as desired. Since then I’ve been experimenting with how to make an egg-free Bisquick version that doesn’t need oil but holds together well and is fluffy and delicioius.
Well, friends, I’ve finally done it!
Why you’ll love this recipe
Alright, let’s get right to it. Bisquick is super easy to use, but it calls for milk, oil, and eggs. Here’s why you’ll love this eggless Bisquick version:
- Super easy – You only need a few ingredients and one bowl.
- Customizable – Mix in whatever you love (chocolate chips, blueberries, you name it).
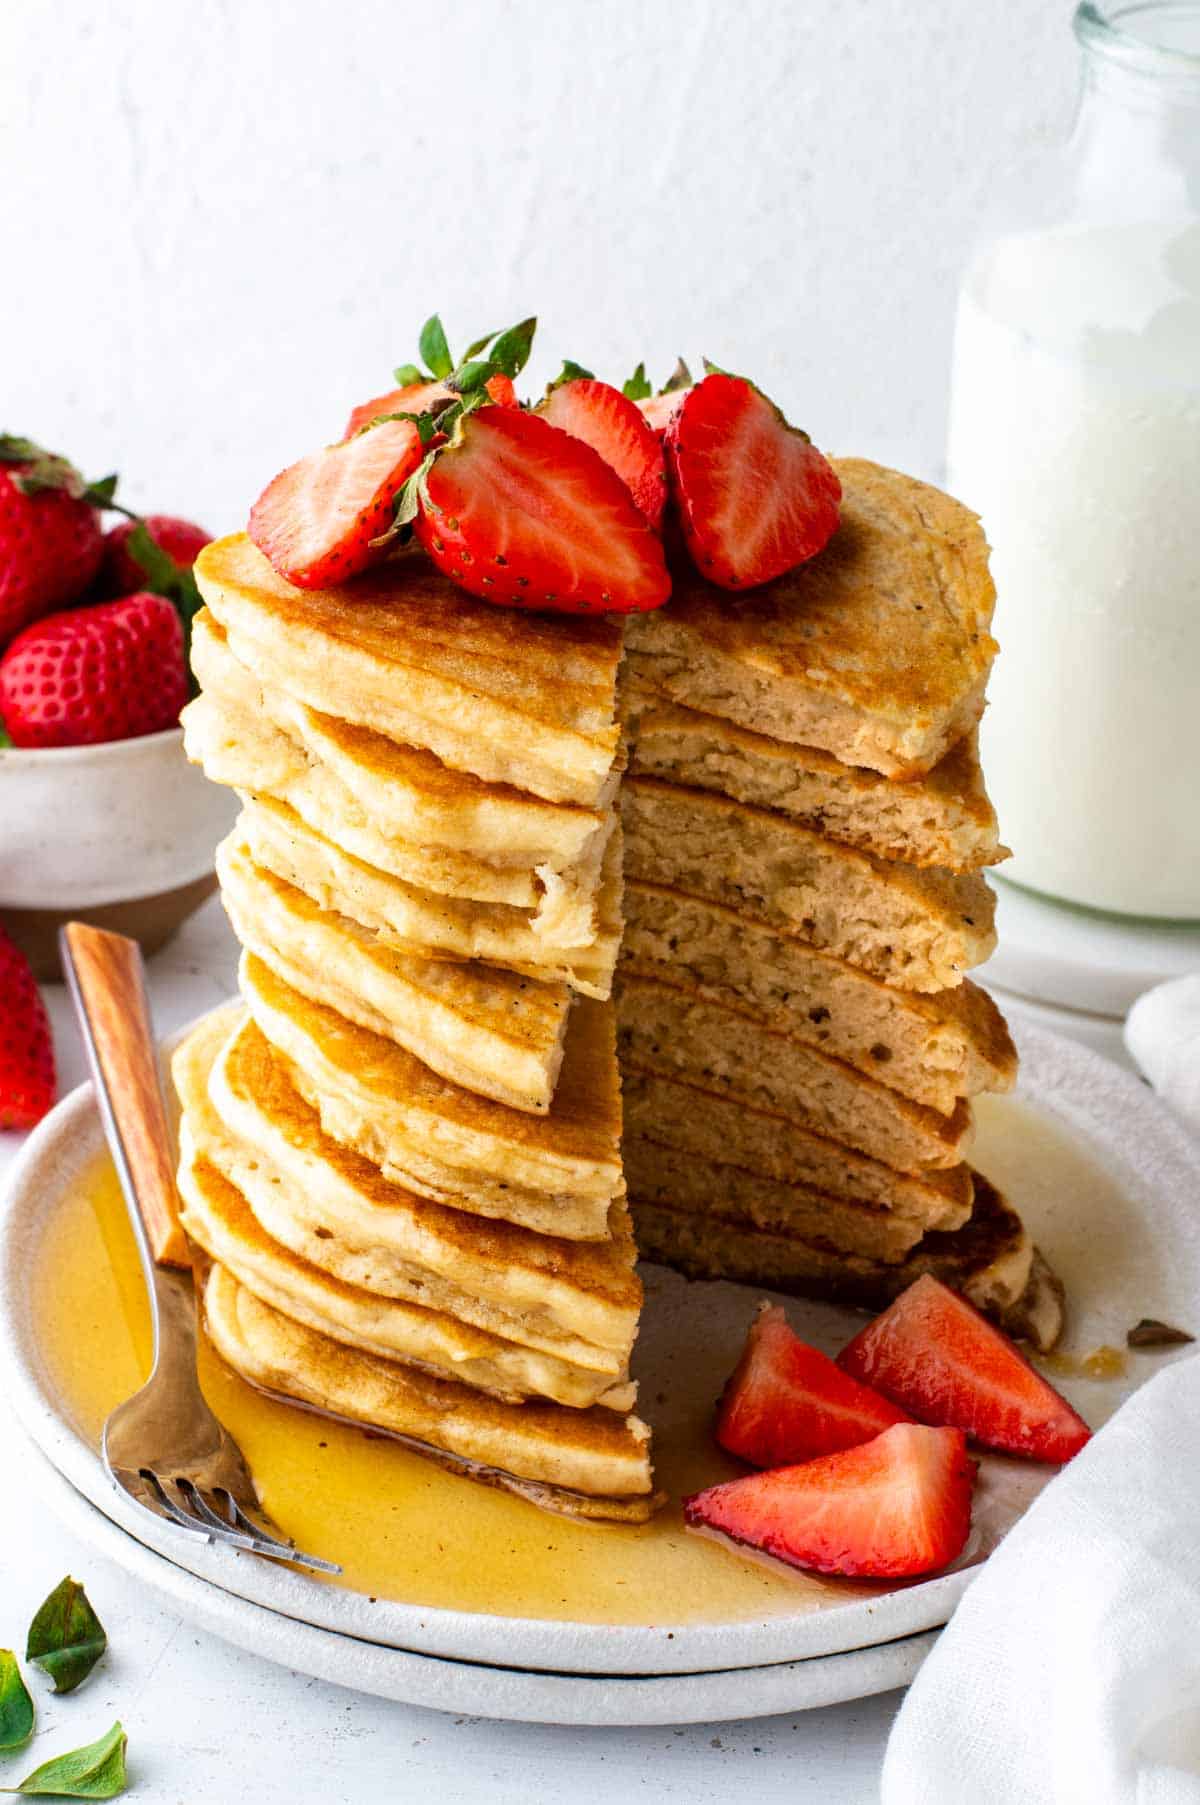
- Fluffy and tender – Just like the pancakes you grew up with, but made without any dairy or eggs.
- Perfect for meal prep – These keep well in the fridge or freezer for quick breakfasts later in the week.
What you’ll need for Bisquick pancakes
Here’s a quick rundown of what you’ll need and a few tips to get the best results:
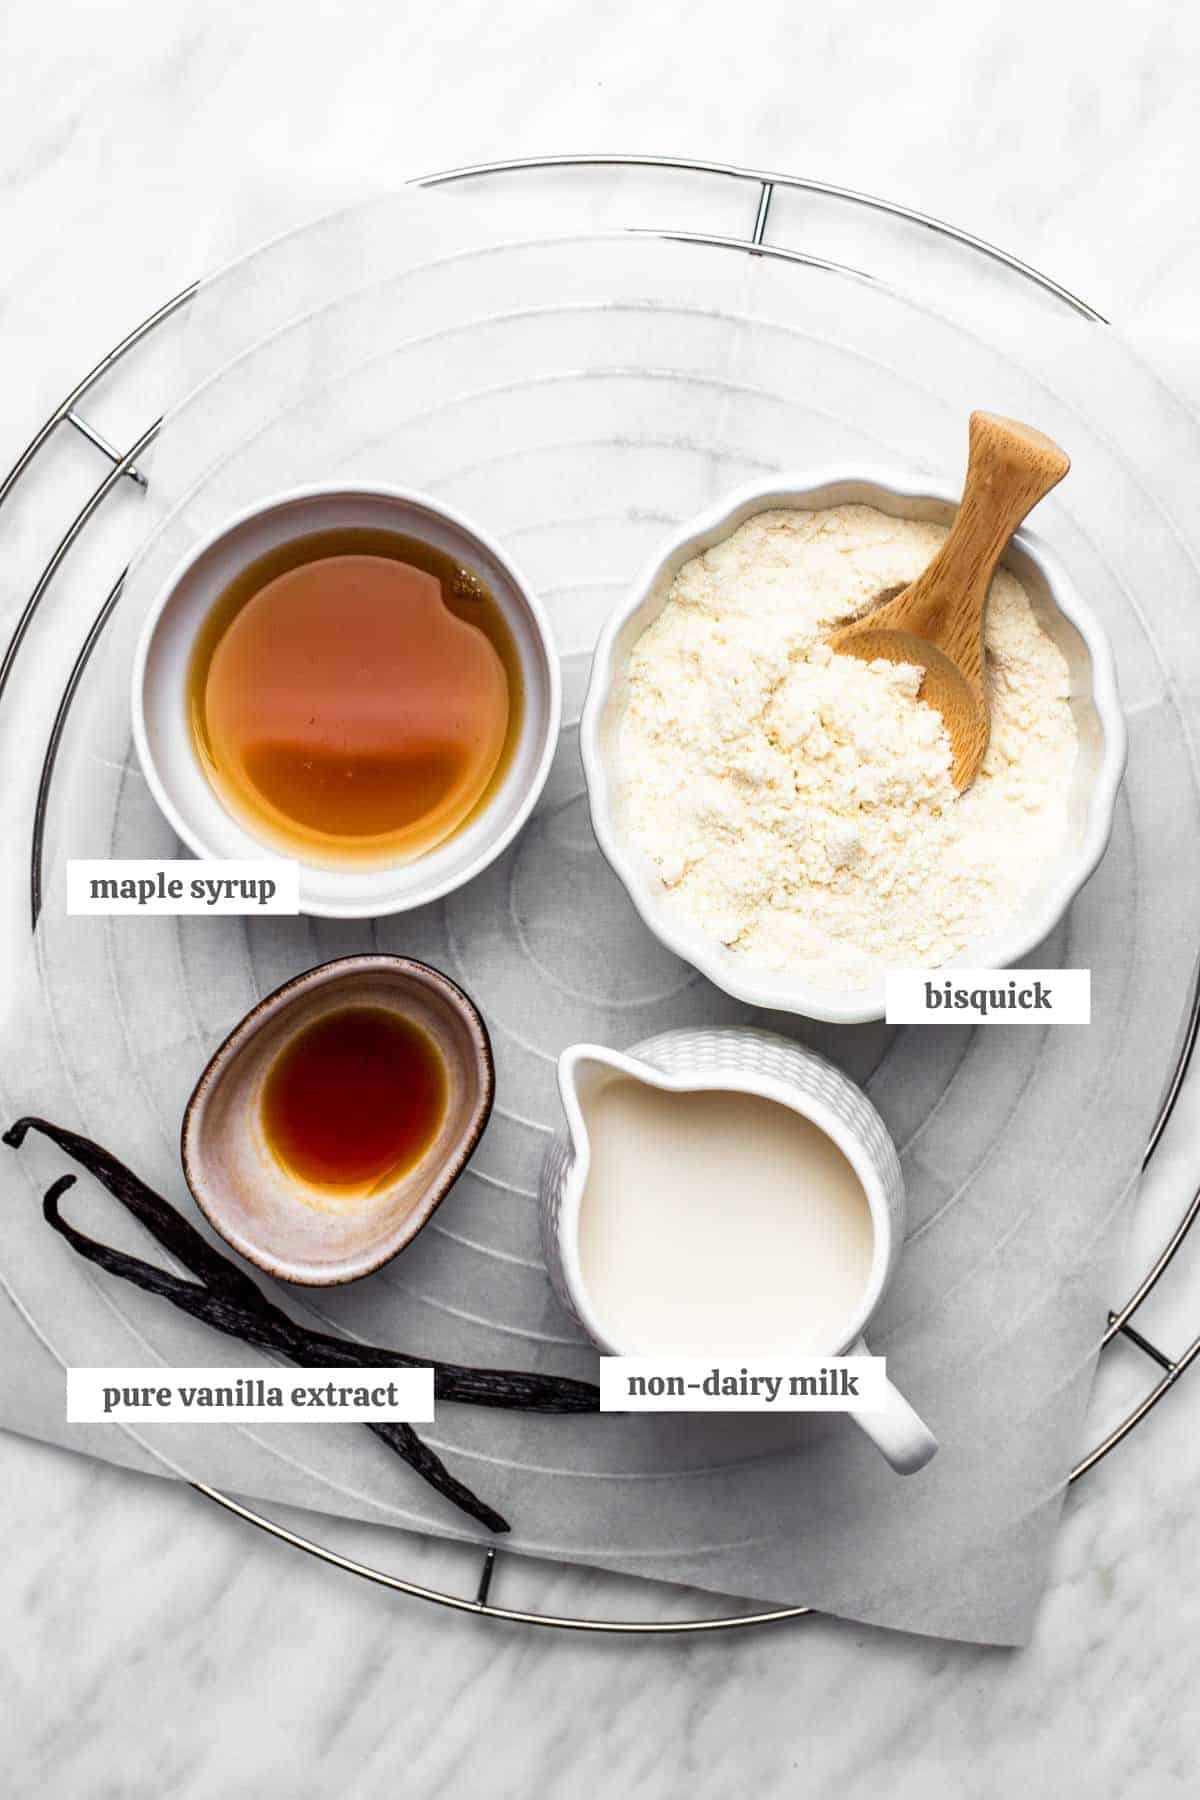
- Bisquick – I use the Original Bisquick mix (yellow box!). It already has leavening and a bit of fat, so it makes super fluffy pancakes with minimal effort.
- Almond Milk – I love using unsweetened almond milk, but any plant-based milk will work here—oat, soy, cashew, rice, you name it. If your milk is sweetened, feel free to skip the maple syrup or adjust to taste.
- Maple Syrup – Totally optional, but I like the subtle sweetness it adds to the batter. You could also use agave, date syrup, or just leave it out if you’re going for a less sweet base.
- Vanilla Extract – Again, optional but highly recommended! It adds that classic pancake flavor and smells amazing as they cook.
This is just an overview to help you pick out the best ingredients for success. Scroll to the recipe card for the full recipe with measurements.
How to make bisquick pancakes without eggs
Here’s the step-by-step process with photos so you can see how the batter turns out. As always, the full instructions are in the printable recipe card below.
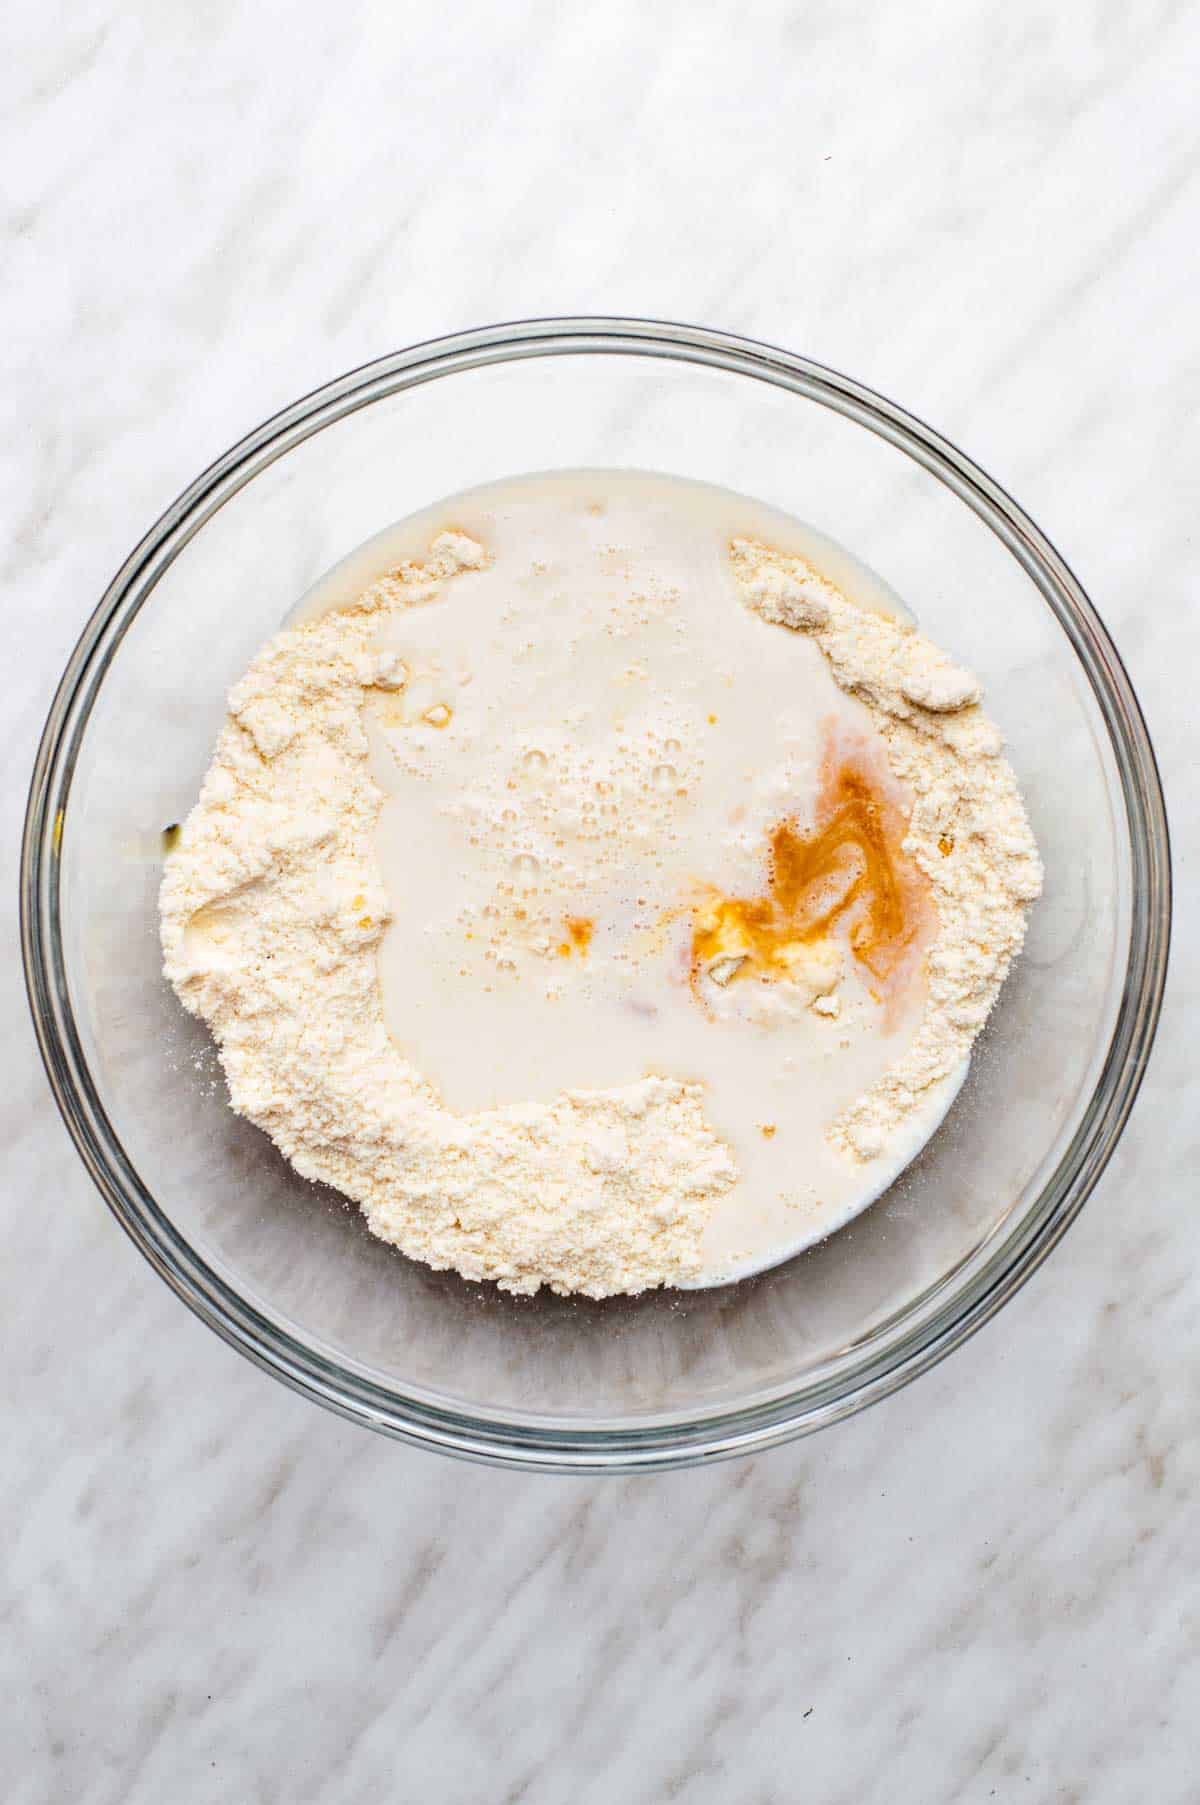
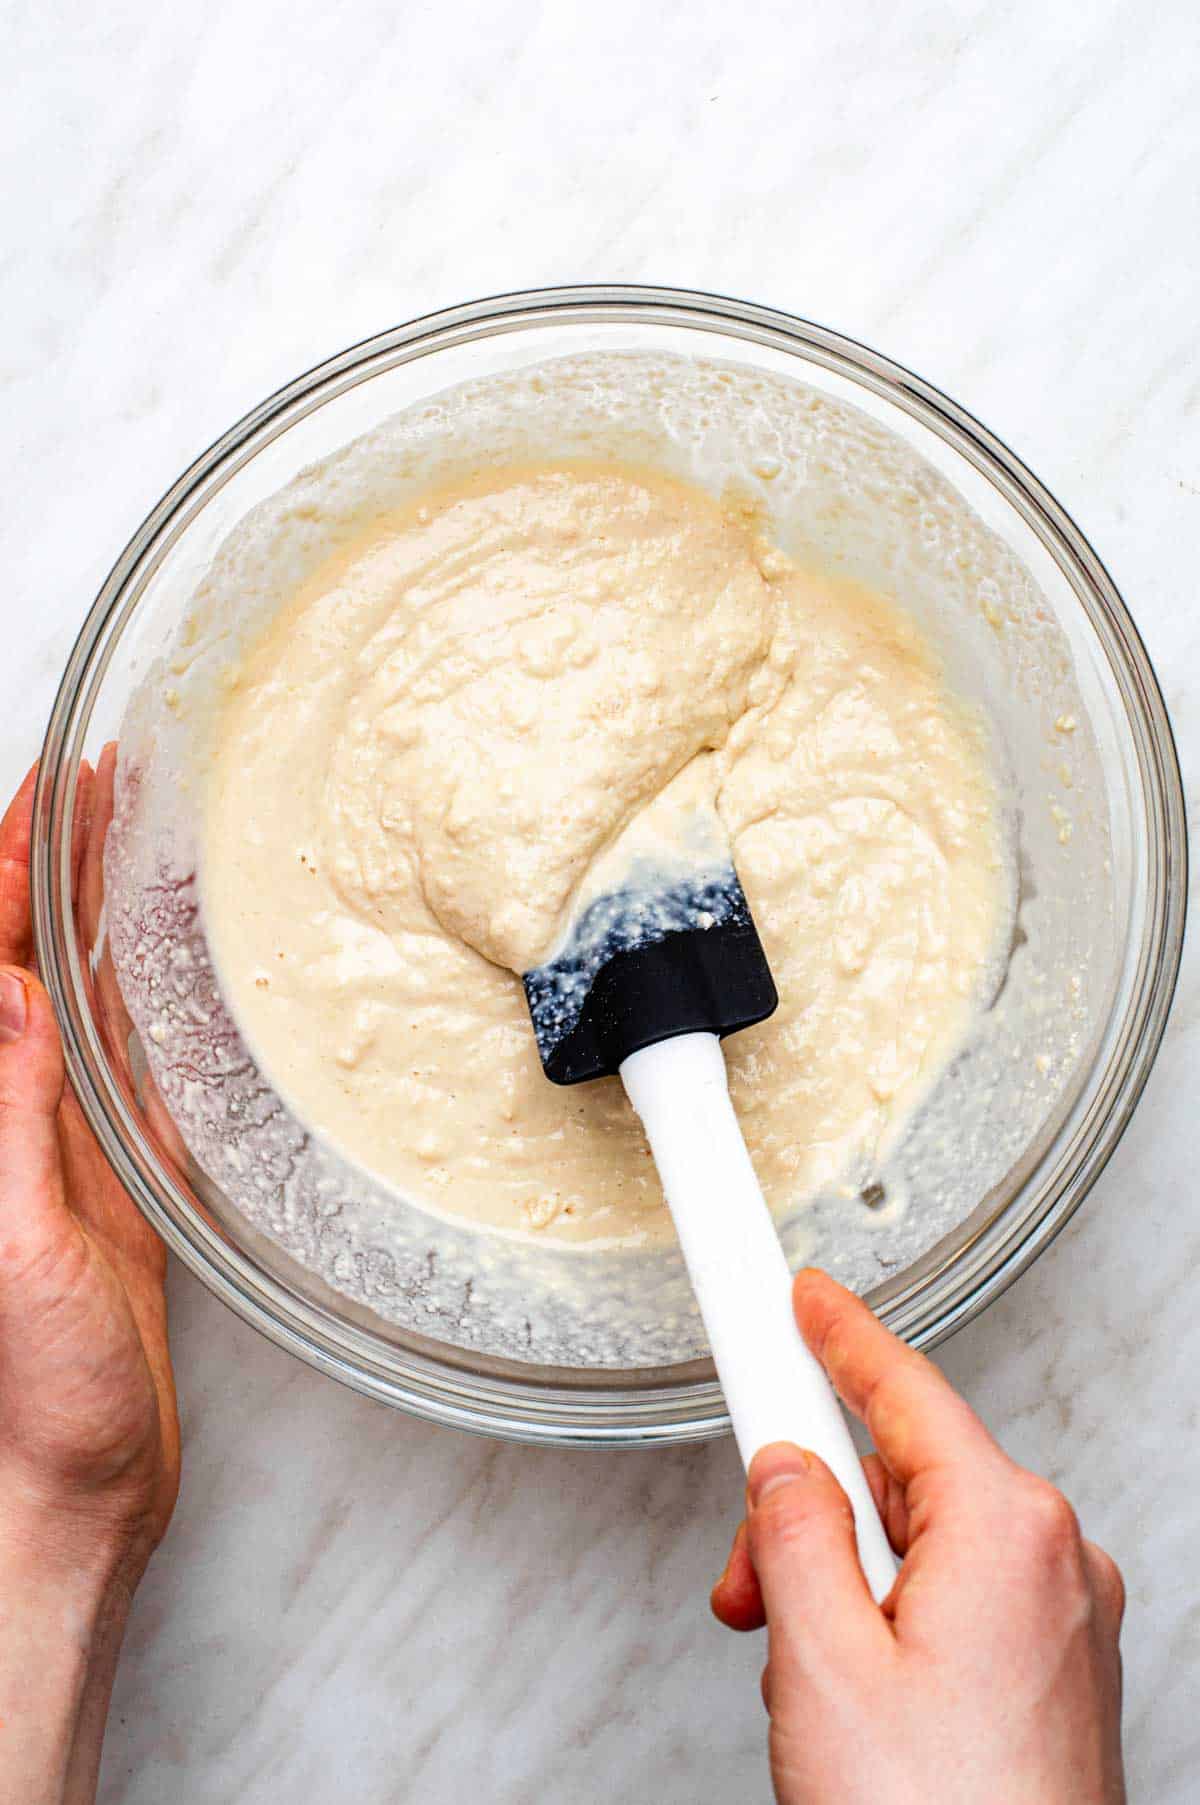
Step 1: In a mixing bowl, combine the bisquick, almond milk, maple syrup, and vanilla. stir until just combined—don’t worry if it’s a little lumpy!
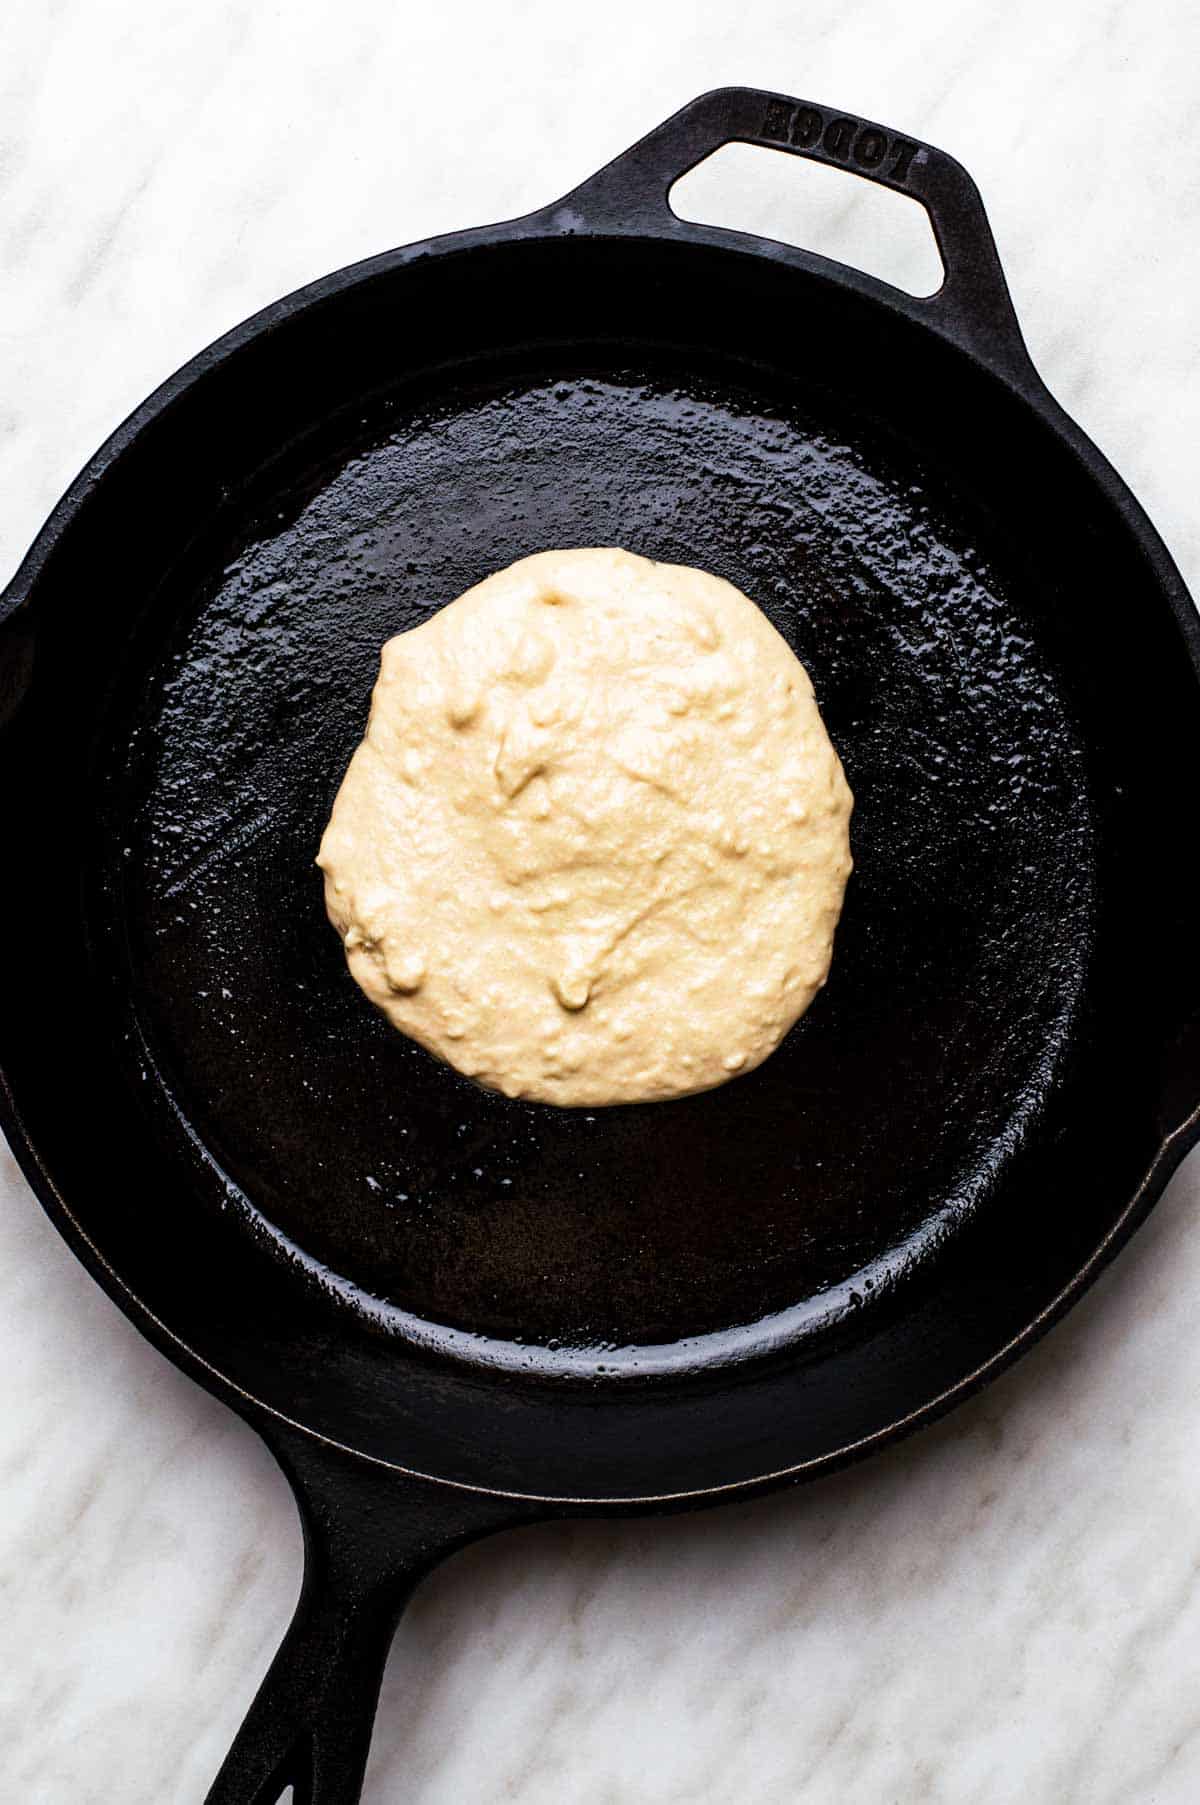
Step 2: Heat a non-stick skillet or griddle over medium heat. Lightly grease it if needed. scoop about 1/4 cup of batter onto the skillet for each pancake.
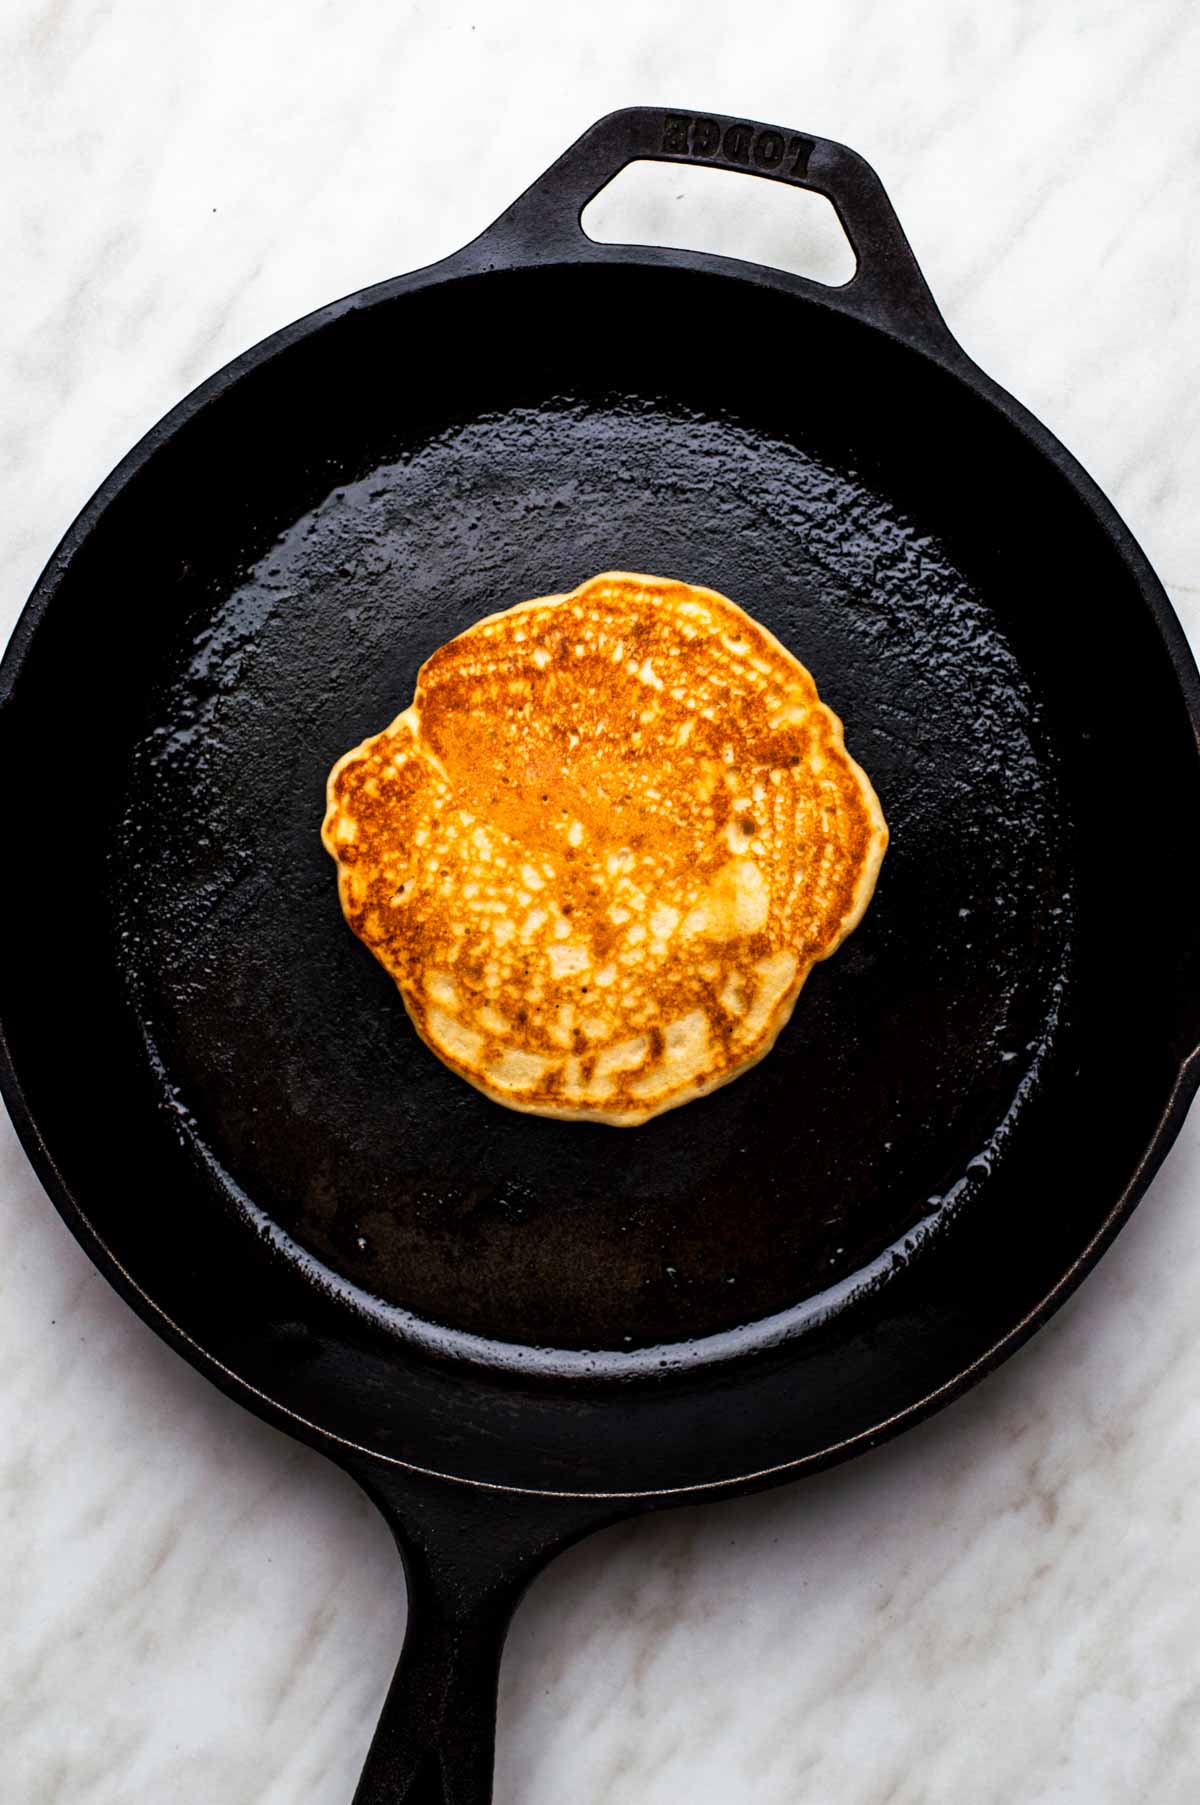
Step 3: Cook for 2–3 minutes, until you see bubbles and the edges look set. Flip and cook another 1–2 minutes on the other side until golden brown.
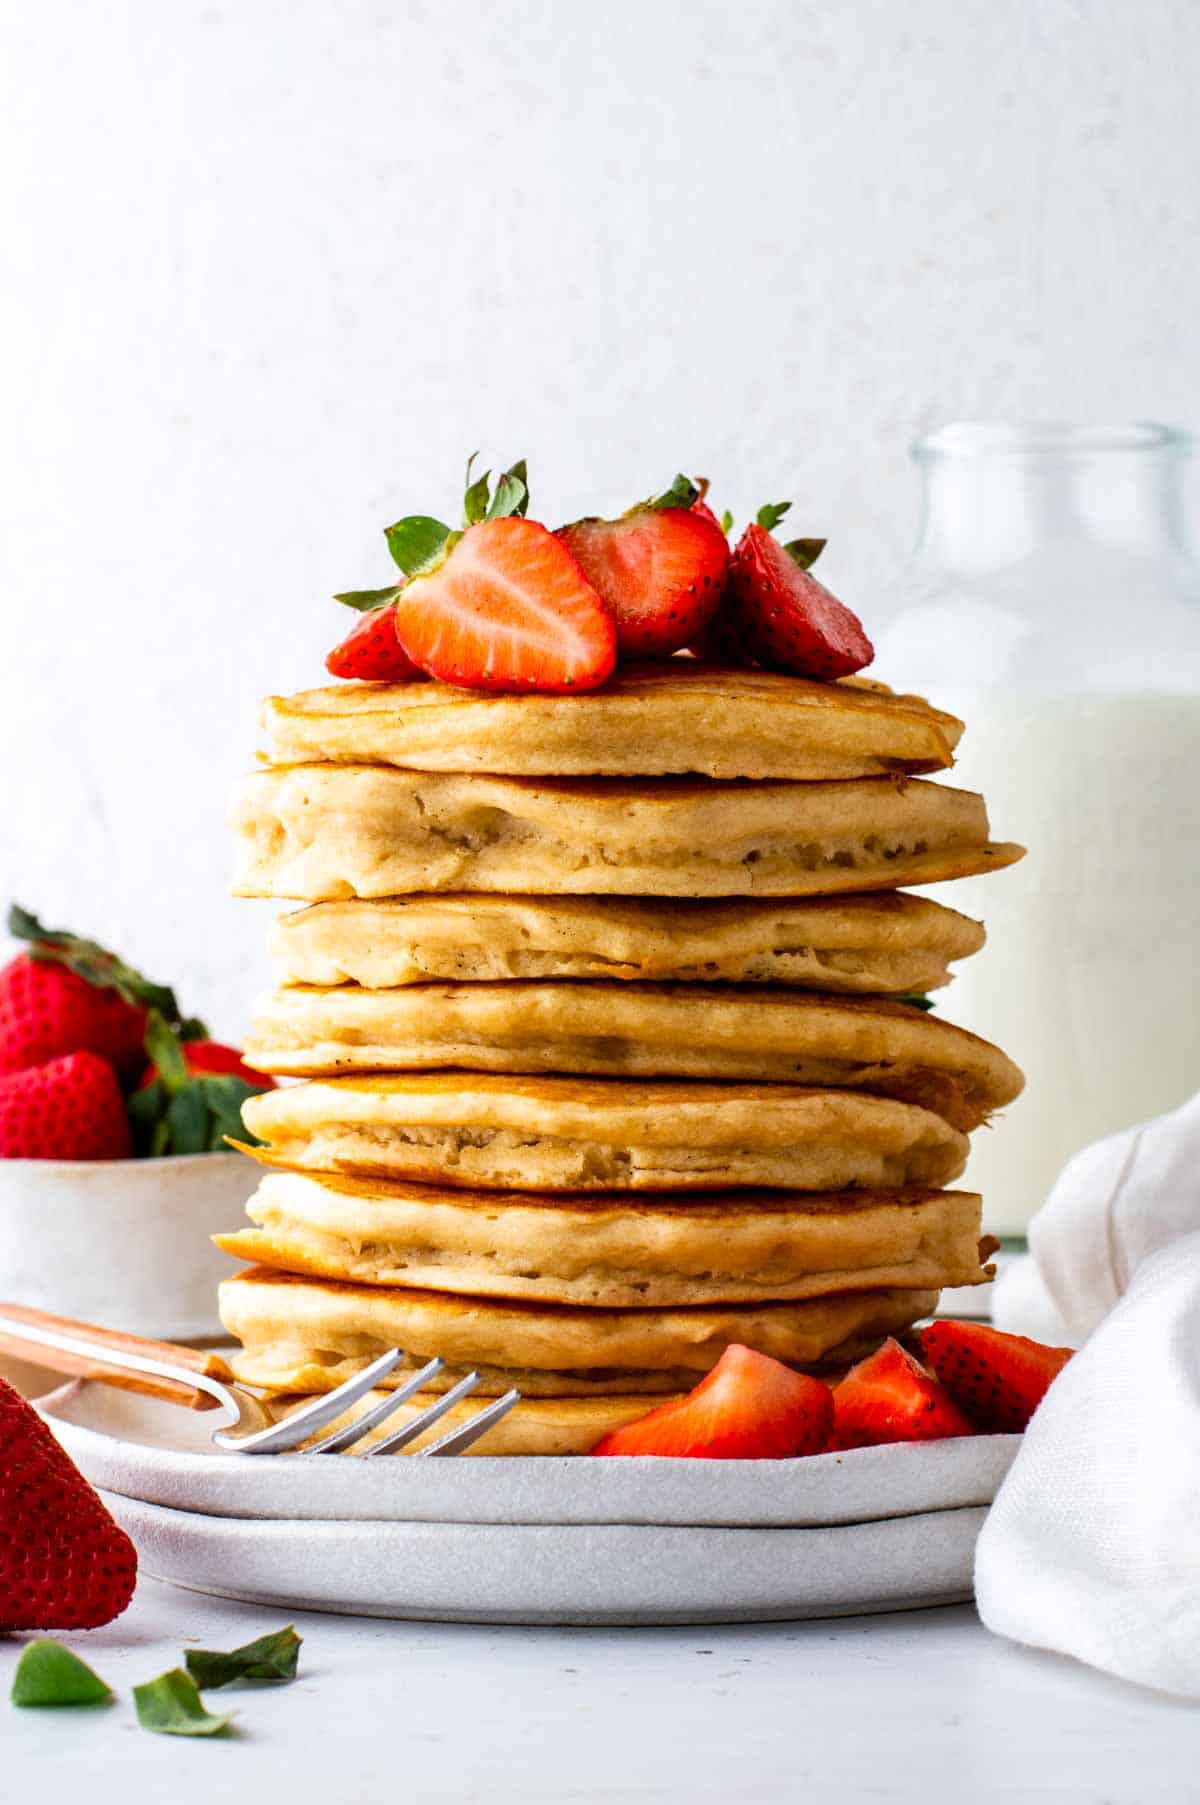
Step 4: Repeat with the remaining batter and serve them warm with all your favorite toppings.
Pancake topping and Mix-in Ideas
I love getting creative with toppings and mix-ins! Here are some ideas to get you started:
Toppings:
- Sliced bananas
- Fresh berries
- Maple syrup (a must!)
- Vegan butter (if you’re also dairy-free)
- Coconut whipped cream
- Nut butter drizzle
Mix-ins:
- Blueberries or chopped strawberries
- Vegan chocolate chips
- Cinnamon or pumpkin spice
- Chopped nuts
Tips
- Don’t overmix the batter—this helps keep the pancakes nice and fluffy.
- If your batter feels too thick, add a splash more plant milk.
- Keep cooked pancakes warm in a 200ºF oven while you finish the rest.
- Want extra flavor? Add a pinch of cinnamon or a dash of nutmeg to the batter.
FAQ’s
Yes! Let them cool completely, then freeze in a single layer before transferring to a container or bag. Reheat in the toaster or microwave.
I usually go for almond milk, but oat, soy, or cashew milk work great too.
If you use a gluten-free version of Bisquick, you’re all set! Just double-check the texture and adjust the milk as needed.
Storage
Once they’re cool, pop the pancakes in an airtight container and store in the fridge for 3–4 days. Reheat in the microwave, toaster, or oven. You can also freeze them for longer storage—just add a few extra seconds when reheating.
If you tried this bisquick pancakes recipe, please leave a 🌟 star rating and let me know how it went in the 📝 comments below!
Want to Save This Recipe?
Enter your email below and we’ll send it straight to your inbox! Plus, get weekly free recipes!
By submitting this form, you consent to receive emails from Health My Lifestyle.
Bisquick Pancakes Without Eggs (4 Ingredients)
Ingredients
- 2 cups Bisquick original yellow box!
- 1 cup almond milk or any other plant-based milk
- 2 tablespoons pure maple syrup optional for extra sweetness
- 1 teaspoon pure vanilla extract optional
Instructions
- In a mixing bowl, combine the Bisquick mix, almond milk, maple syrup, and vanilla extract. Stir until just combined. Be careful not to overmix; a few lumps are okay.2 cups Bisquick, 1 cup almond milk, 2 tablespoons pure maple syrup, 1 teaspoon pure vanilla extract
- Heat a non-stick skillet or griddle over medium heat. You can lightly grease it with a non-stick cooking spray if needed. Once the skillet is hot, pour about 1/4 cup of batter onto the skillet for each pancake. Cook until bubbles form on the surface of the pancake and the edges look set, about 2-3 minutes.
- Carefully flip the pancakes and cook for an additional 1-2 minutes on the other side, until golden brown. Remove the pancakes from the skillet and keep them warm while you cook the remaining batter.
- Serve the pancakes warm with your favorite toppings such as maple syrup, fresh fruit, or vegan whipped cream.
Notes
the refrigerator for 3-4 days. When you’re ready to eat the pancakes, you can reheat
them in the microwave, toaster, or oven until warmed through. If reheating from frozen,
you may need to add a little extra time.