
Make your own oat tortillas at home with just 2 ingredients! These gluten-free tortillas are soft, fluffy, and perfect to carry any of your favorite toppings!
This post may contain affiliate links. Read my policy page for more information.
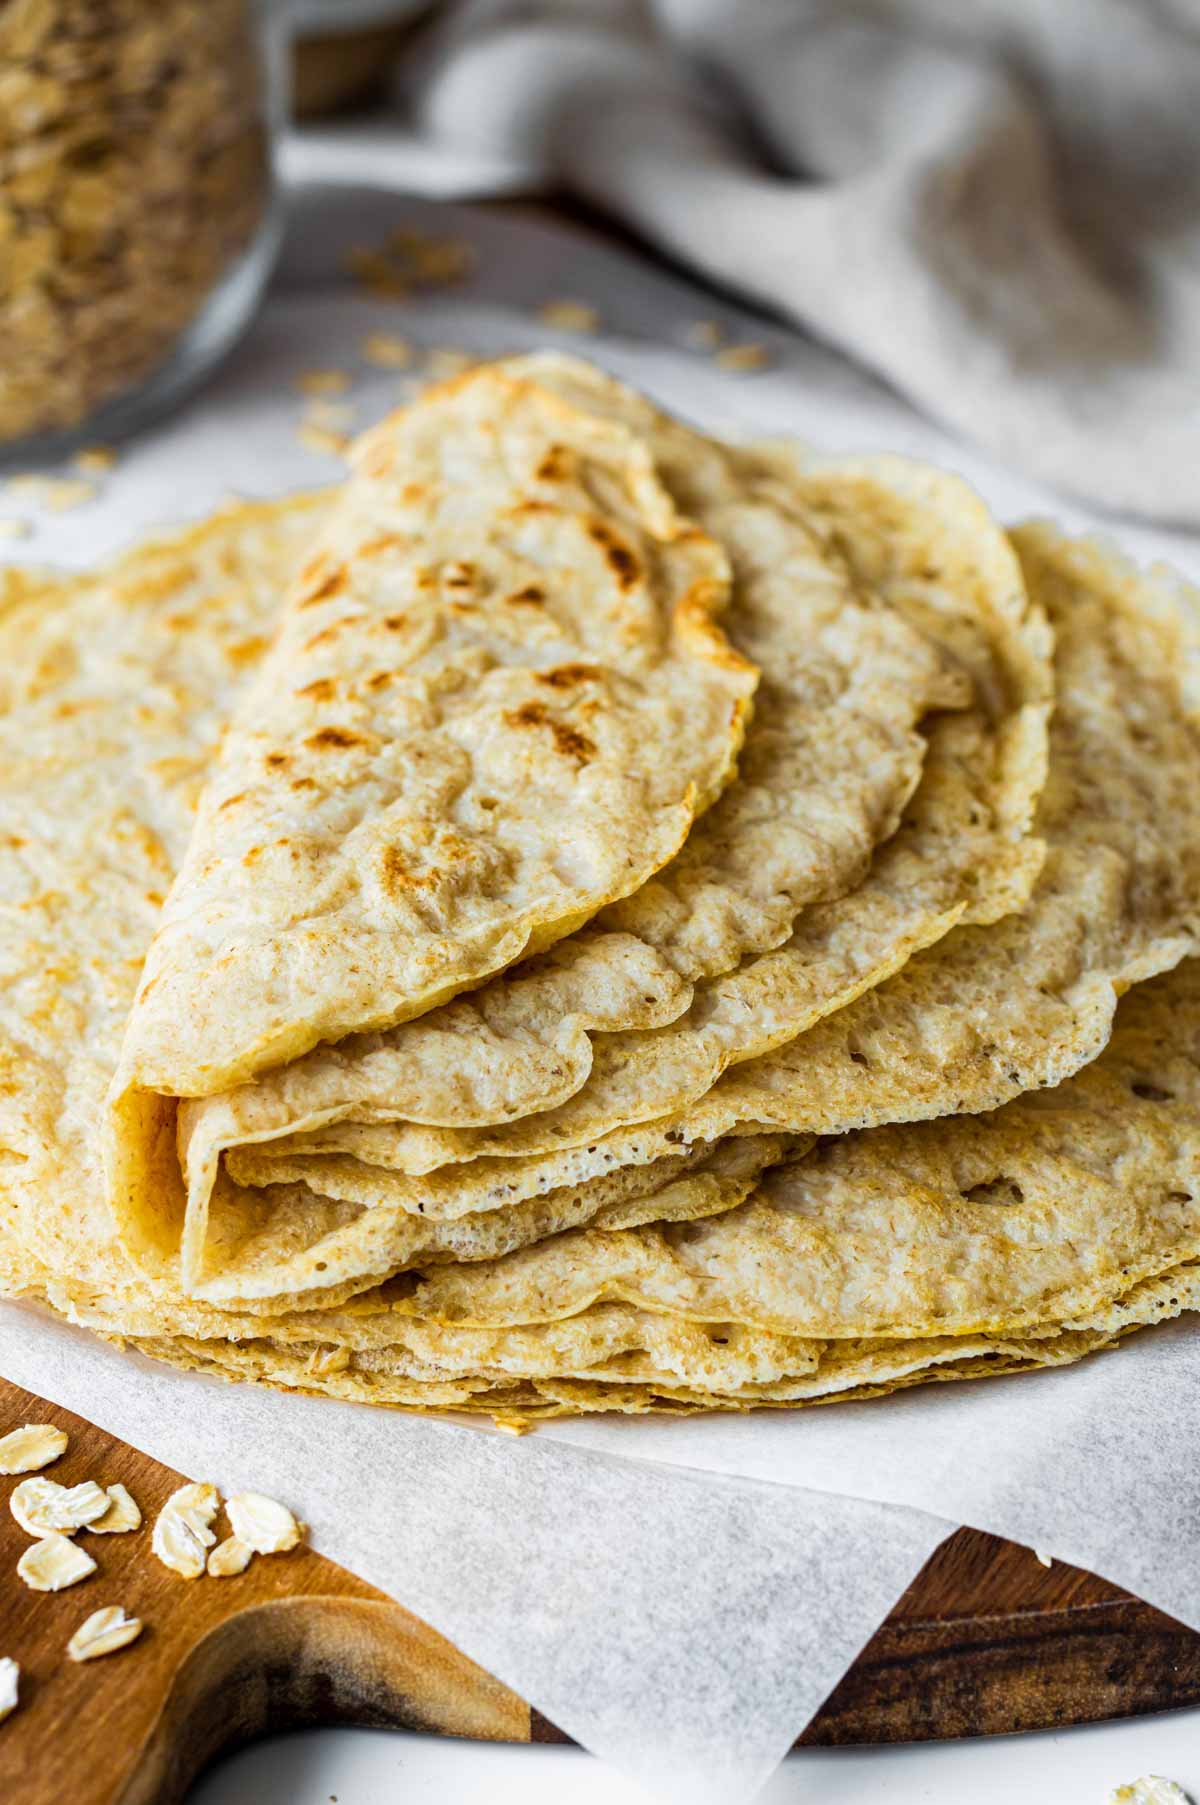
These 2-ingredient oat tortillas are the perfect alternative to corn tortillas! They’re fluffy, chewy, and soft, and have crispy and golden brown edges.
The best part is that you don’t need a tortilla press or any other “fancy” kitchen equipment. Only your blender and a pan!
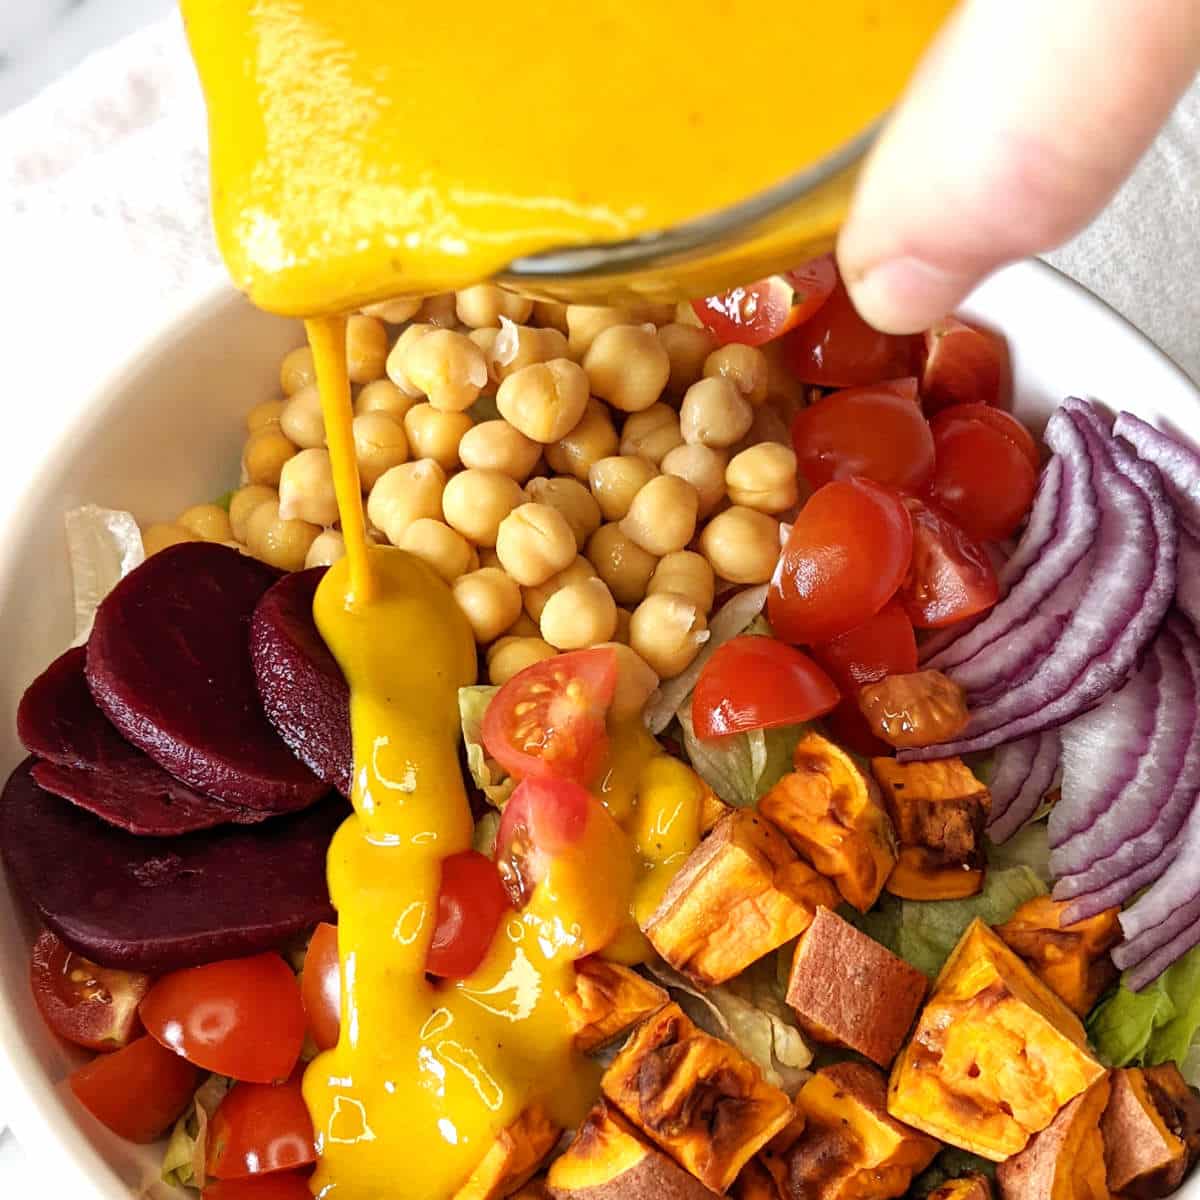
Enjoy these homemade tortillas with your favorite taco toppings like corn salsa, homemade guacamole, and more!
Jump to:
Why you will love this recipe
This oat tortilla recipe should be in your arsenal of go-to recipes for how incredibly easy and delicious it is! Here are more reasons to love it:
- Easy to make and budget-friendly. Gluten-free tortillas can be expensive and sometimes hard to find. Now you can make them at home for the cost of a few cents.
- Only 2 simple ingredients are needed! Store-bought vegan tortillas can sometimes have a dozen different ingredients in them.
- Versatile and customizable! This recipe goes well with so many things and can be used with both sweet and savory fillings.
- Naturally vegan, gluten-free, and dairy-free! Just make sure to use gluten-free certified oats.
Ingredient notes

- Rolled oats: For best results, make sure to use either rolled oats or quick-cooking oats. Steel-cut oats won’t work here.
- Water: For the best texture you’ll need to use double the amount of water compared to oats.
- Salt: To enhance the flavor of the tortilla. You can also add any other seasonings that you like such as garlic powder, paprika, nutmeg, etc.
Scroll to the recipe card below for full measurements.
How to Make Oat Tortillas
To a high-speed blender or a food processor, add rolled oats, water, and salt. Blend on high for 1 minute or until it’s smooth and there are no large oat flakes visible. It’s okay if the mixture is a little gritty.


Let the mixture rest for 20-30 minutes to allow the mixture to thicken. This step is key to producing tortillas that hold together and are easy to flip.
For an oil-free option, use a nonstick skillet. If you don’t have a non-stick skillet you can brush your pan with a little bit of olive oil or vegan butter. You can also spray it with some nonstick cooking spray.
Heat over medium to medium-low and add 1/4 cup of batter at a time to the pan. Gently tilt the pan to spread out the batter and form an even and thin tortilla. Cook on each side for 4-5 minutes until golden. Repeat with the remaining batter.

Your tortillas are ready to flip when bubbles appear and the edges start to dry out and pull away from the pan.
Remove from the heat and repeat the steps with the rest of the batter. Serve these oat tortillas right away or store them in an airtight container for later.

My Best Tips
- Let your mixture rest and thicken. This is a key step to making soft and foldable oat tortillas. When you allow the oats to soak in the water, they soften and thicken the mixture, which then makes them blend better.
- For best results, brush your pan with a little oil. It gives the oat tortillas a lovely golden brown color, as well as crispy edges.
- Adjust the thickness of the batter as needed. As you’re frying each tortilla, the batter continues to thicken even further. Feel free to add 1-2 tablespoons of water to thin it out as needed.
- Add your favorite spices. This recipe gives you neutral-tasting tortillas with a nutty taste. You can add more flavor by adding spices, soy sauce, miso paste, or other flavor-packed ingredients you enjoy.
FAQ
This recipe makes 7-8 small tortillas with 7g of carbohydrates in each.
Yes, you can make the batter 24 hours ahead of time. Make sure to store it in a covered jar or a container in the fridge.
Yes, you can freeze these oat tortillas for up to 3 months! Transfer them to a freezer-safe container and layer a piece of parchment paper between each tortilla to prevent them from sticking.
There may be several reasons for this, we’ll explore the most common.
You didn’t let the oats soak. As I mentioned before, this is an important step for the texture of the tortillas, so don’t skip it!
You flipped them too early. You want to cook them for 4-5 minutes on each side, or until the edges of the tortilla appear dry and start to lift off from the pan, before the first flip.
Yes, but you’ll need to use less oat flour than you’d use rolled oats. For every 1 cup of rolled oats, use 3/4 cup of oat flour.

Serving suggestions
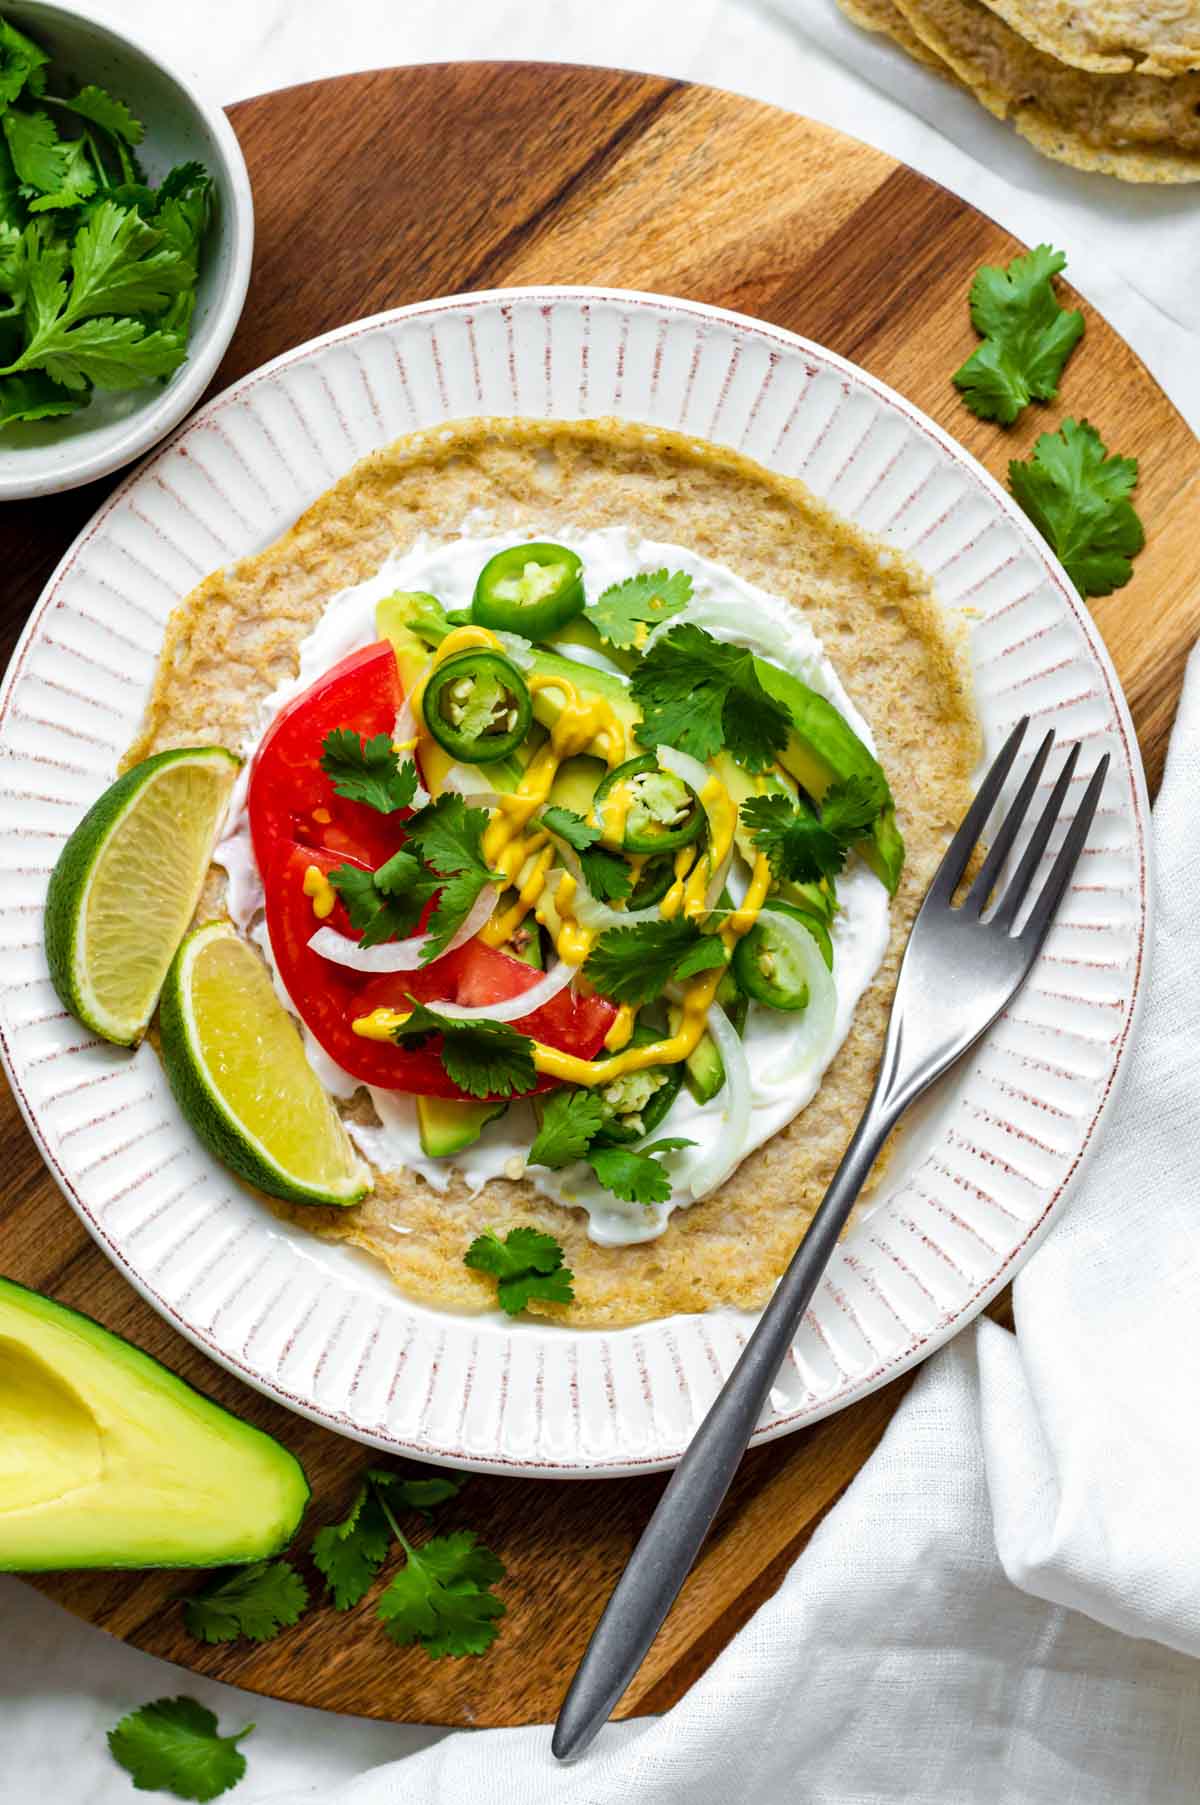
When it comes to serving these oat tortillas, the options are truly endless! Here are some ideas for both sweet and savory fillings.
Savory
- Similar to my vegan tofu tacos, you can stuff them with crispy tofu and top with homemade vegan guacamole or vegan cheese sauce.
- With vegan coconut shrimp and a mix of green leafy vegetables.
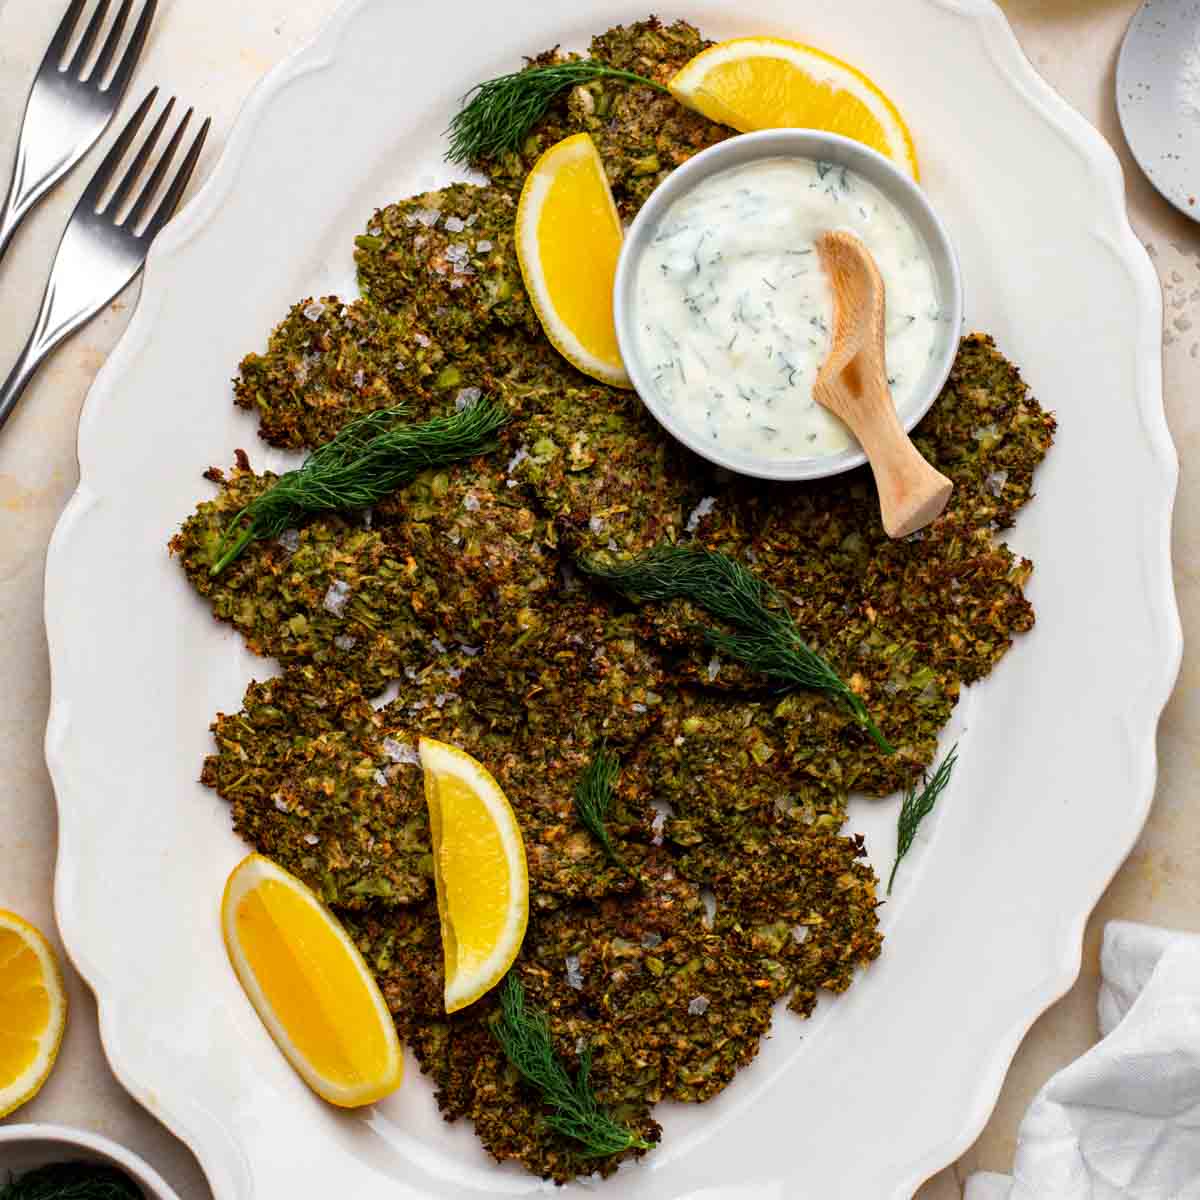
- Stuffed with air fryer frozen buffalo cauliflower and topped with vegan ranch or vegan tartar sauce.
- With my air fryer marinated tempeh and Mexican street corn.
- With my smoky tofu ground beef and shredded vegan cheese!
Sweet
- Vegan whipped cream and berries such as strawberries or raspberries.
- Your favorite fruit jam like raspberry jam, strawberry jam, or another.
- A drizzle of nut butter such as peanut butter or almond butter.
- Melted chocolate or vegan chocolate hazelnut spread similar to Nutella.
- A sprinkle of chopped nuts like pecans, cashews, or almonds.
- A drizzle of maple syrup and/or a dust of powdered sugar.
How to store leftovers
Let the oat tortillas cool to room temperature, then transfer them to an airtight container and save them in the fridge for up to 5 days.
More Recipes with Oats
If you’re looking for more easy, gluten-free recipes featuring oats, you’re going to love these:
- 3-Ingredient Banana Oatmeal Cookies are delightful treats that are not only delicious but also boast a healthy twist!
- 5-Ingredient No-Bake Granola Bars are ready in just a mere 5 minutes and are great to prep ahead!
- For a cozy and comforting breakfast try this Apple Cinnamon Oatmeal. It’s hearty and wholesome!
- Make mornings a breeze with this filling and delicious Easy Protein Overnight Oats!
- Enjoy Vegan Snickers Overnight Oats when you’re craving candy for breakfast but still want something filling and full of nutrients!
Want to Save This Recipe?
Enter your email below and we’ll send it straight to your inbox! Plus, get weekly free recipes!
By submitting this form, you consent to receive emails from Health My Lifestyle.

Easy Oat Tortillas
Method
- High-speed blender
Ingredients
- 1 cup rolled oats
- 2 cups cold water
- ½ teaspoon salt
- ½ teaspoon garlic powder optional
Instructions
- To a high-speed blender, add rolled oats, water, salt, and garlic powder (if using). At this point, add any other spices you like.1 cup rolled oats, 2 cups cold water, ½ teaspoon salt, ½ teaspoon garlic powder
- Blend on high for 1 minute or until smooth and there are no large oat flakes visible. It's okay if the mixture is a little gritty. The consistency should be thinner than pancake batter, but not watery. Let the mixture rest for 20-30 minutes to allow the batter to thicken.
- Ideally, you'd want to use a non-stick skillet to cook the tortillas, but any kind of pan can work here. Heat the skillet over medium to medium-low heat and brush with a little bit of oil or spray with some non-stick cooking spray.
- Pour ¼ cup of the batter into the hot skillet and gently tilt the pan to spread it out into a thin and even layer. Cook for 4-5 minutes, or until bubbles appear and the edges start to pull away from the pan. Flip and cook for 3-4 minutes on the other side. Your tortilla is ready when it's golden brown on both sides.
- Remove from the heat and repeat the same steps with the rest of the batter, until it's used up. Serve these oat tortillas right away or store in an airtight container for later.


They were delicious thanks for the recipe
You’re so welcome! Glad you liked it!
Can’t wait to try these! Small note, it would be great if the note about using the oat flour instead of whole oats was included in the printable version. Thanks! So excited! Hate corn tortillas but can’t have gluten anymore. Chickpea crepes are good but can’t eat chickpeas anymore either.
Thanks, Kat! Just added that to the recipe card 🙂 Enjoy!
I could not get them cooled through. Tasted like porridge.
Hmm I’m sorry they didn’t cook through for you! I make mine pretty thin by tilting the pan around to spread the batter out into an even, thin layer, which helps them cook faster. Were you able to thin them out?
I was very anxious to try these.
My tortillas did not get done in the middle. I timed each side – 5 minutes then 4 minutes. They were tasty but soft in middle.
Maybe too thick? When I tried to swirl pan the tortilla broke apart and slid. What did I do wrong?
Hi Linda, I only swirl immediately after adding the batter to the pan. A bigger pan can also help it to spread further and thinner, or try using less batter to create thinner tortillas. You may need to increase the heat of your stove a little too. Hope this helps!
So excited for these! They’re definitely softer than regular tortillas but they worked well for my lunch wrap today! They were really easy to make so I plan to meal prep them weekly so I can have wraps all week long.